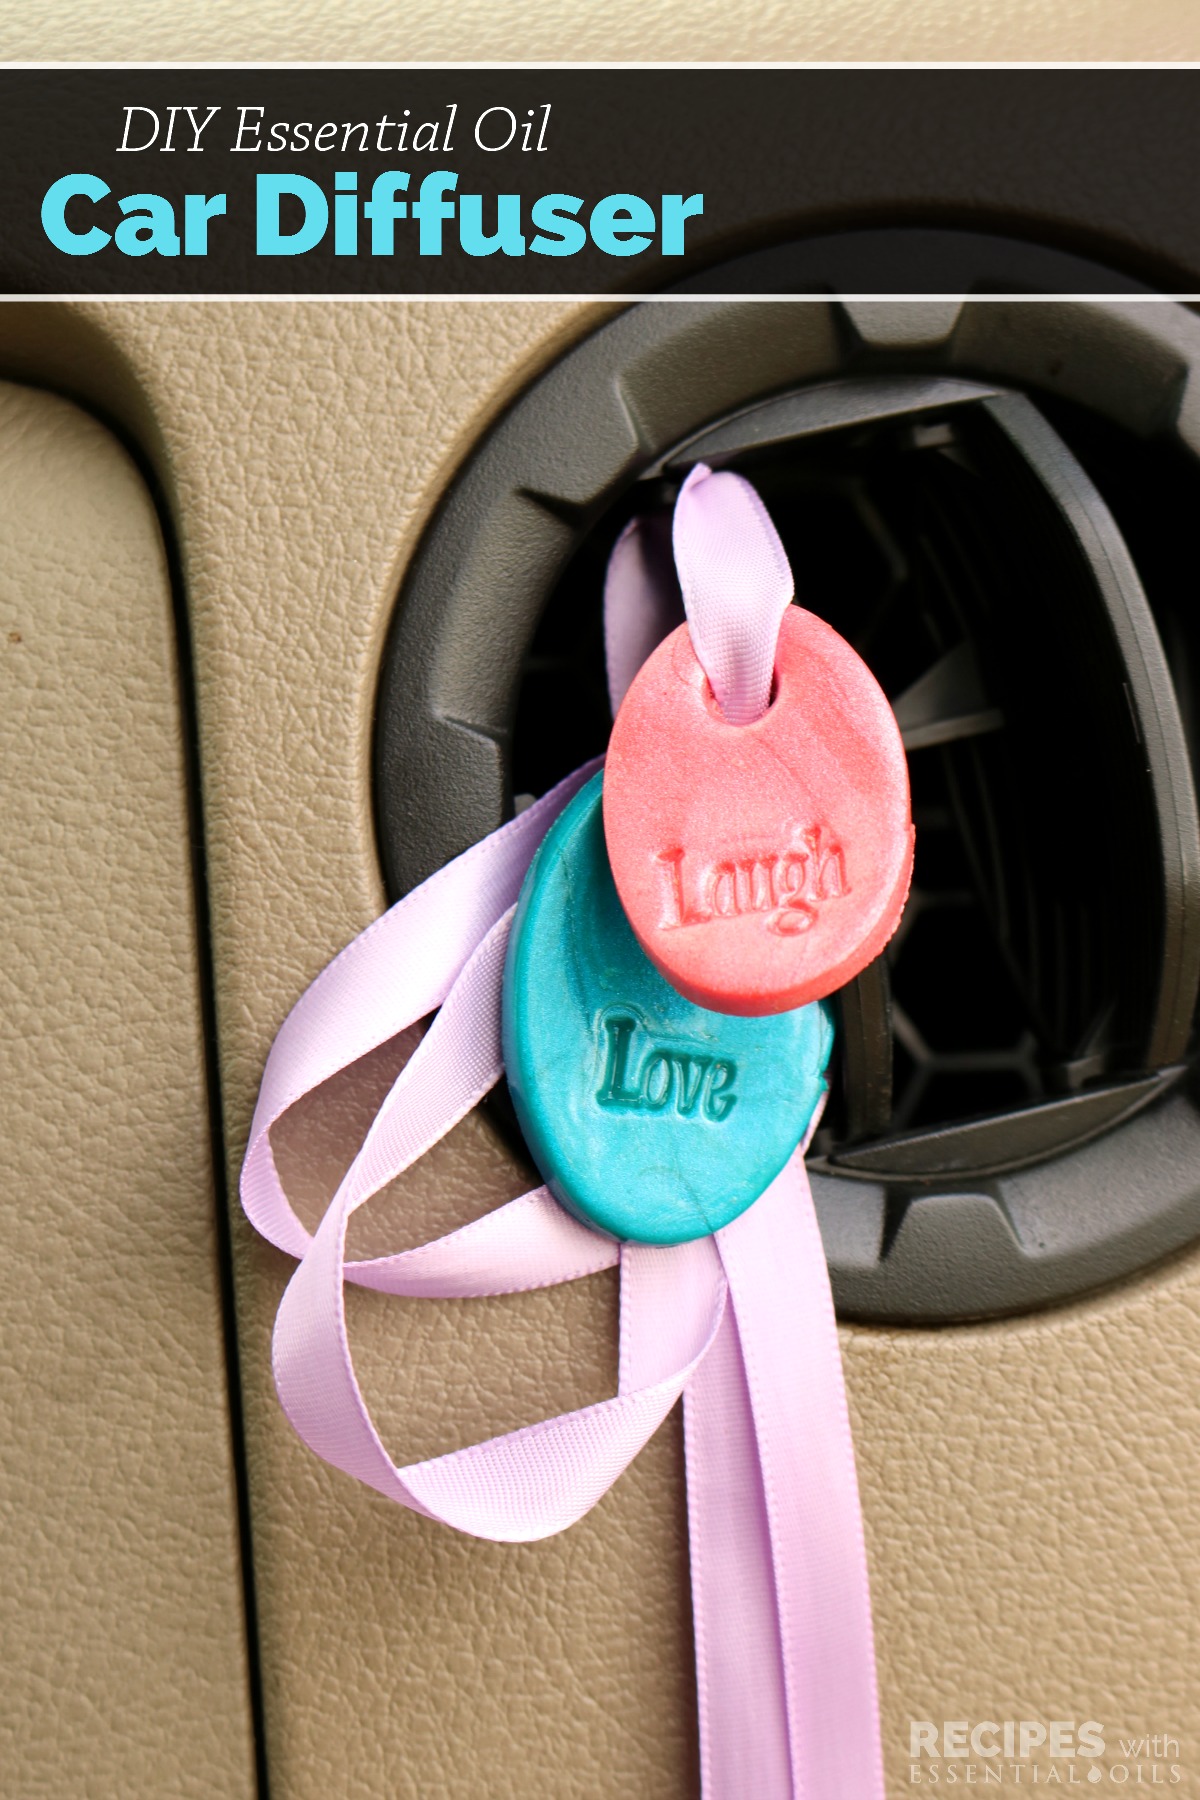
Aren’t these little DIY Essential Oil Car Diffusers the cutest things in the world?! I just love them. They’re bright, cheerful, easy to make, and they help freshen your car naturally. No more tired evergreen trees hanging from your rearview mirror!
This post has been updated to integrate some of the useful feedback and information we’ve gathered from our wonderful readers!
We were inspired to try them after seeing this darling post for DIY necklaces here.
All I could think was how it could be used in so many ways to diffuse oils simply:
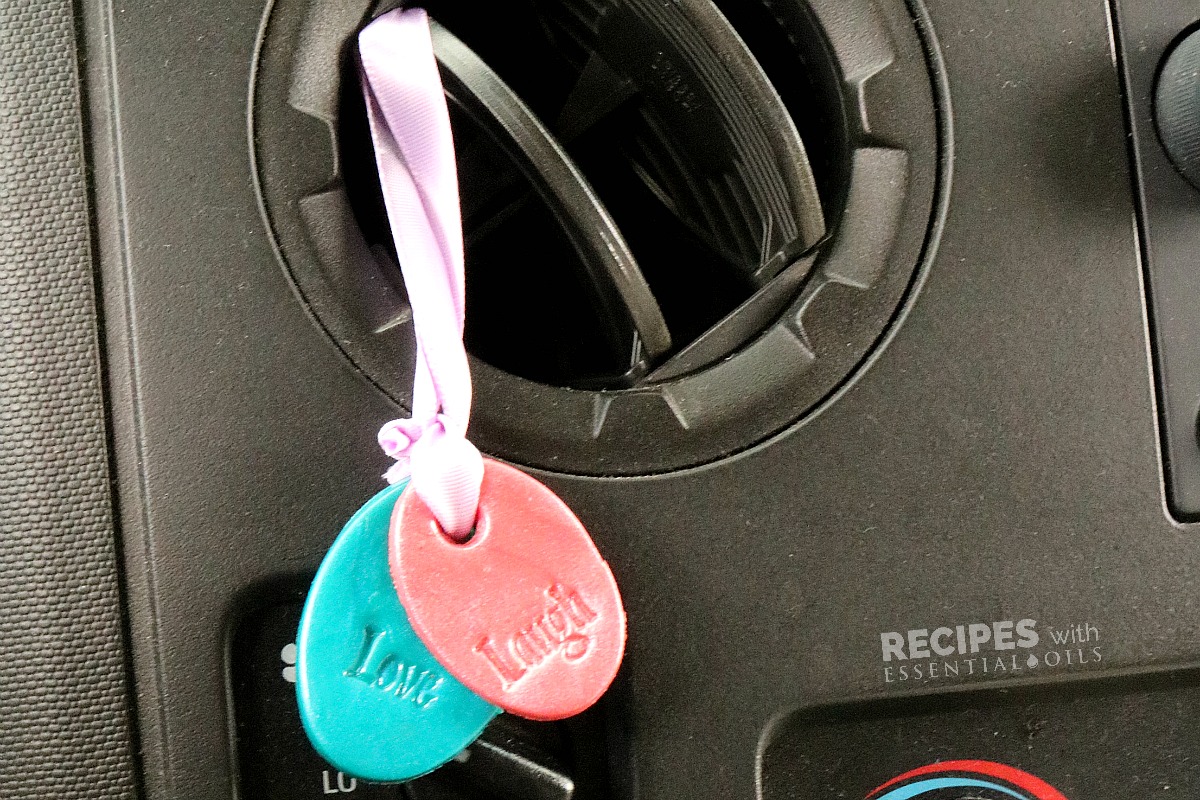
- These car diffusers are so cute you’ll want to hang them from your rearview mirror
- Or you could place them on the vents throughout the car to keep the essential oils diffusing through the whole vehicle
- The designs and color choices are almost limitless
- One for mom, one for the teen, one for baby sister’s bicycle…cute idea, right?!
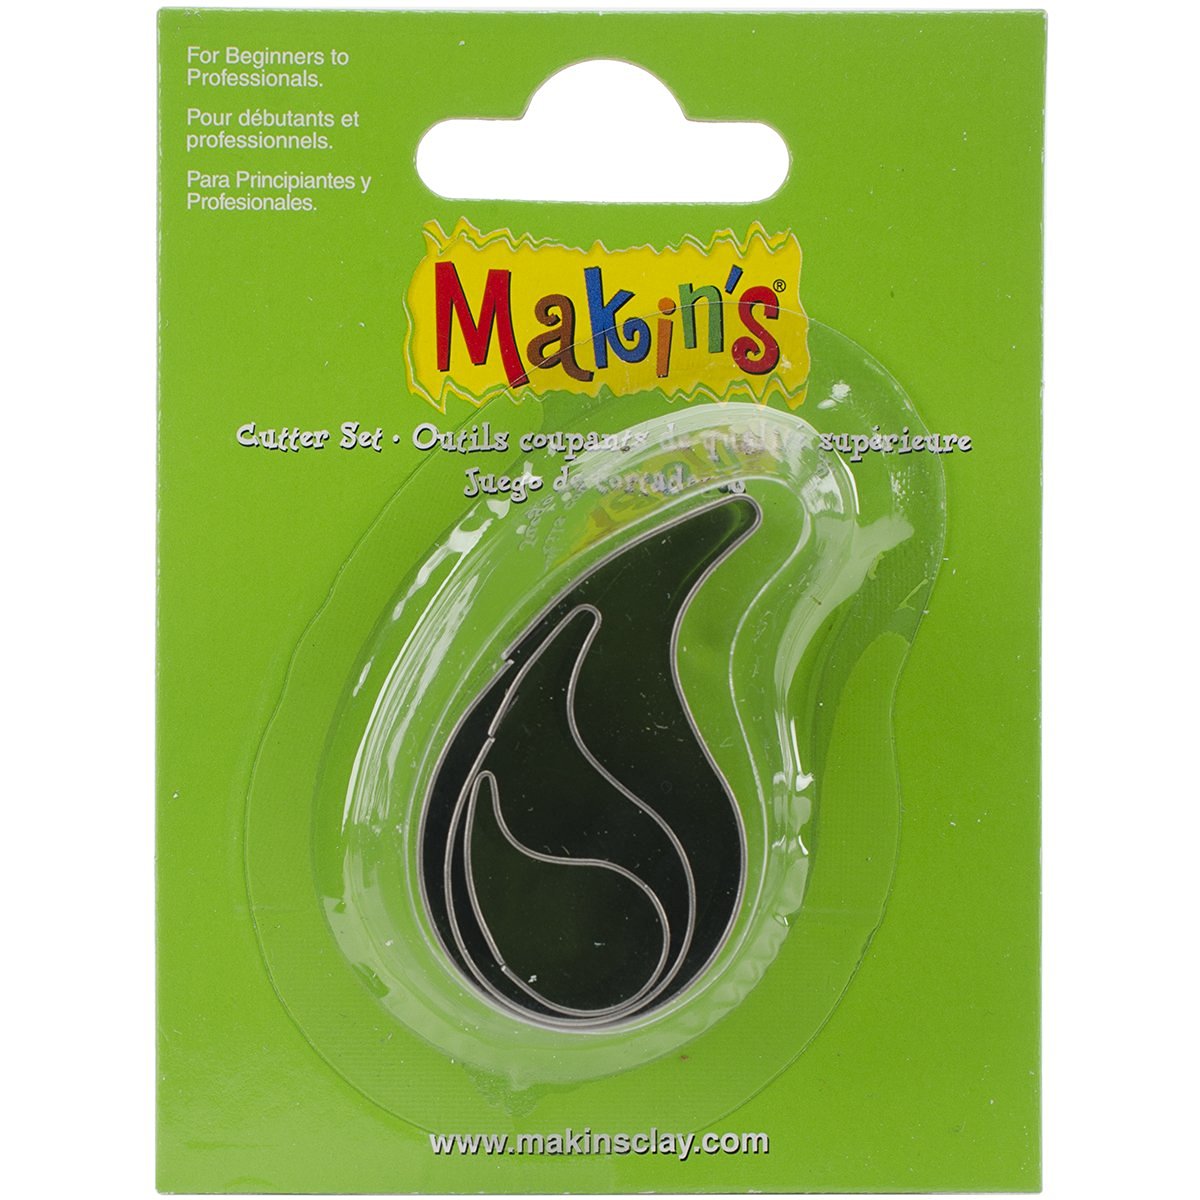
Speaking of choices, as we were finalizing this post, I just found these OIL DROP clay cutters!! How cute would this be?
And, I love these rubber stamps with pretty nature items! Or since it’s for the car, these would be fun…
Oh my goodness, get me into a craft store in an aisle with rubber stamps, and you’ve made my day.
Now, a quick word about the oven baked clay we used…
We HIGHLY recommend using natural clay for your car diffuser pendant. This clay is perfectly absorbent and completely natural and toxin free.
You’ll add the essential oils to the natural clay on the back of the pendant for it to absorb. Let them absorb into the clay before hanging, it just takes a few moments. Other helpful tips are in the recipe below.
Finally, the essential oils to use. Um…any of them! 🙂 We went with a woodsy, spicy smell using Frankincense, Cypress, and Idaho Balsam Fir. But, again, the options are pretty limitless!
See all of our Diffuser combinations here to pick from a variety of options!
New to essential oils? Learn more about how we use them and why you should use them as well.
DIY Essential Oil Car Diffuser
Ingredients
- Natural clay
- Food coloring or non-toxic acrylic paint (optional)
- rolling pin or craft clay roller
- plastic wrap
- stamps (these travel themed stamps are PERFECT!)
- clay cutters (wouldn’t these tree shaped cutters be the best?! And these are the ones we used)
- straw
- parchment paper
- baking sheet
- ribbon
- scissors
- 1 drop Cypress essential oil
- 2 drops Frankincense essential oil
- 1 drop Idaho Balsam Fir
Directions
- Clear a flat surface. Roll out the clay in your hands to make it soften and more malleable.
- If you’re coloring your clay with food coloring or acrylic paint, then you can work that into your clay now before proceeding We suggest working the color in while you’re wearing gloves or working the color in with the clay inside a plastic bag. Basically protect your skin from absorbing the color that you’re applying to the clay! 🙂
- Wrap your rolling pin in plastic wrap (if you use your rolling pin for food like most of us then you’ll want to protect it from absorbing the clay). Or use a craft clay roller like we did.
- Roll out the natural clay onto the tabletop to about 1/8 inch thickness.
- Start by using the stamps on the raw clay BEFORE using the cutters. This step is best completed first because then you can see the already placed design clearly later when you cut out the shape. Also, stamping first keeps the dough in perfect shape whereas stamping after you cut out your shape will distort the edges and make it uneven. And, if you mis-align the stamp, no worries! Just smooth the clay back out and restamp.
- Use the clay cutters to cut out the shapes you’d like to make. Place a hole near the top of the cutout piece using the straw, but not too close to the edge. This will allow you to create the hole into the pendant for the ribbon later. Place the pieces on parchment paper on a baking sheet. (Don’t place directly on a baking sheet that you’ll use for food later!)
- Allow the pendants to dry completely before proceeding. It could take 24 hours for that process to be complete. Once they’ve dried out, you can cut a length of ribbon and arrange the pendants for the rearview mirror or to hang from a vent. You can always trim the ribbon later so it’s best to start with the ribbon a little long so you can find the length you like.
- Apply essential oils to the backs of the pendants and enjoy the fresh scent!




Priscilla says
How long do the oils last on these clay pieces?
Beth K says
When we soaked one in Lemon essential oil is was bright and citrusy for at least a week. We’ve also found that air-dryed natural clay is an excellent replacement for the colored clay we use here.
Lindsey Carver says
So instead of using both types of clay, you used just the natural clay and let it air dry instead of cook it?
Beth K says
Yes, we air dry now and don’t use polymer clay. We’ve lived and learned. 🙂
Cindy says
Do you think I could make beads for a necklace or bracelet with the same clay and essential oil? Cindy
Beth K says
That sounds so cute!
Jackie Lindon says
I added my oils before I baked them, is that why they are not hard or do they still have to set?
Diana M says
Yes, the oils should be added after they are baked. They will cook-off at high heat, similar to alcohol in food recipes.
atldesigns says
I used the same clay as mentioned. Baked the pieces as directed. Let cool as directed. When applying the oils to the clay the oil did not absorb at all. So now I have to figure out what to do with all this clay. ugh!
Beth K says
Thanks for your feedback. We’ve updated the post with new recommendations of adding a layer of natural clay to the backside of the design. Thanks so much for taking the time to leave a comment.
Dawn says
You can still add a layer of natural clay to your already baked pieces, just be sure to add bake n bond or liquid clay between the layers before baking…
Beth K says
Thanks for that helpful tip! Great to hear.
Michelle says
I made these and once baked the clay is not porous and the oils did not soak in but dried visible on the backside. I wonder if yours were the same and if once hung if the oil warmed up in the sun (or the car heater) and dripped? I want to give one as a gift but I don’t want the oil to warm up and drip off and do damage to her car?
Thanks!
Beth K says
Thanks so much for taking the time to leave a comment. We’ve updated the post with new recommendations of adding a layer of natural clay to the backside of the design.
The Bake and Bond product that we recommend also adheres raw clay to baked clay. You might try adhering a layer of raw natural clay to the back of the pendant to give the essential oils something to absorb into.
Kim says
Can you use Tera cotta clay for these?
Beth K says
That would be marvelous! I love the rich color of that clay!
I’m not sure about the drying time for terra cotta so I’d make sure to read the package for drying times and temps.
Shelly says
Has anyone tried adding a little paint to the front side of the clay?
How long does the scent last with using the natural clay?
Thanks
Shelly
Jenn says
Shelly, you can add paint to the front, but you have to be careful not to spill any oils on that side as the oils (especially citrus oils) will dissolve the paint. The scent is affected by temperature, environment, and size of space the diffuser is in, so it’s really hard to say. I just add more oils whenever I’m not smelling it anymore.
TK says
Is Air-Dry clay considered “natural clay”? Because I’d think this would absorb well…I have plenty & I’m thinking of giving it a try.
Beth K says
That sounds like it will work, great! Let us know how it turns out for you.
Ellie says
So you don’t cook the clay?
Recipes With Essential Oils says
Hi Ellie! We used natural clay that does not need to be baked. Check out some of the other comments for some successful alternatives. You could try a combination of both and bond them together. Enjoy 🙂
CHRISTINE says
So is the picture you show the ones made with the white natural clay??? Because I ordered it and it is not white???
Diana M says
Hi Christine! Yes, we used this white natural, air dry clay. This recipe was tested and approved by our team 🙂
Minette says
I have a lot of natural clay powders for soap making. Could these be used after mixed?
Diana M says
Hi Minette! We have not tested it with natural clay powder, but you could always add a layer to one side and see if it works out and absorbs the oil. Let us know 🙂